How-To Guide
Indoor Wall Padding Installation Tips
December 18, 2012
When you are purchasing indoor wall pads for your gymnasium or recreation center, you might want to consider these tips and tricks from an expert for measuring and installing.
Installing indoor wall mats can be fairly simple if the job is straightforward. But the project can get tricky when cutouts are involved.

Although you may account for the cutouts in your measurements, during installation, the pads tend to “grow”. Growth is a term used for when pads ultimately take up more space than originally measured because foam may interfere with the pads completely 'butting' up together and/or if pads are even 1/10" larger than ordered, and there are multiple pads, this additional space will add up. When growth occurs, cutouts may not match up. One installer with 30 years of experience does their cutouts on the job to avoid this issue. They also measure for the cut pad at the closest edge of the wall (to the cutout), but oftentimes it has to be cut again because of growth. On-site maintenance staff may not equipped to cut and re-staple the pads, which is why professional installers are often recommended. Otherwise, a customer might wait 2-3 more weeks for another pad to be made for the pads to fit and cutouts to match up.
1. Factors to consider when measuring for wall padding:
- 4" off the floor for a poured or tile floor
- 2" - 3" off the floor in a wrestling room
- Wood floors normally have a vented base, beginning your measurement 4 1/2" off the floor will allow the floor to breathe
- All floors tend to not be level, so measure up to the desired height and level off. You want the pads to be level at the top around the room.
- Measuring for cutouts is difficult because the pads tend to grow and the floor might have a dip in it, which will affect the cutout off. Someone with carpentry skills (or an installer) can cut to fit the pad.
2. Factors to consider when measuring for cutouts:
- Make sure enough room is left around items on the wall such as door handles, circuit breakers and fire pull stations (for the fire department to service it)
- If there is a plastic cover around the pull station, there needs to be enough room to lift the cover
- There are some covers that have locks on the sides. Make sure there is eCompleted Wall Padding Installationnough room for a hand to open it with a key.
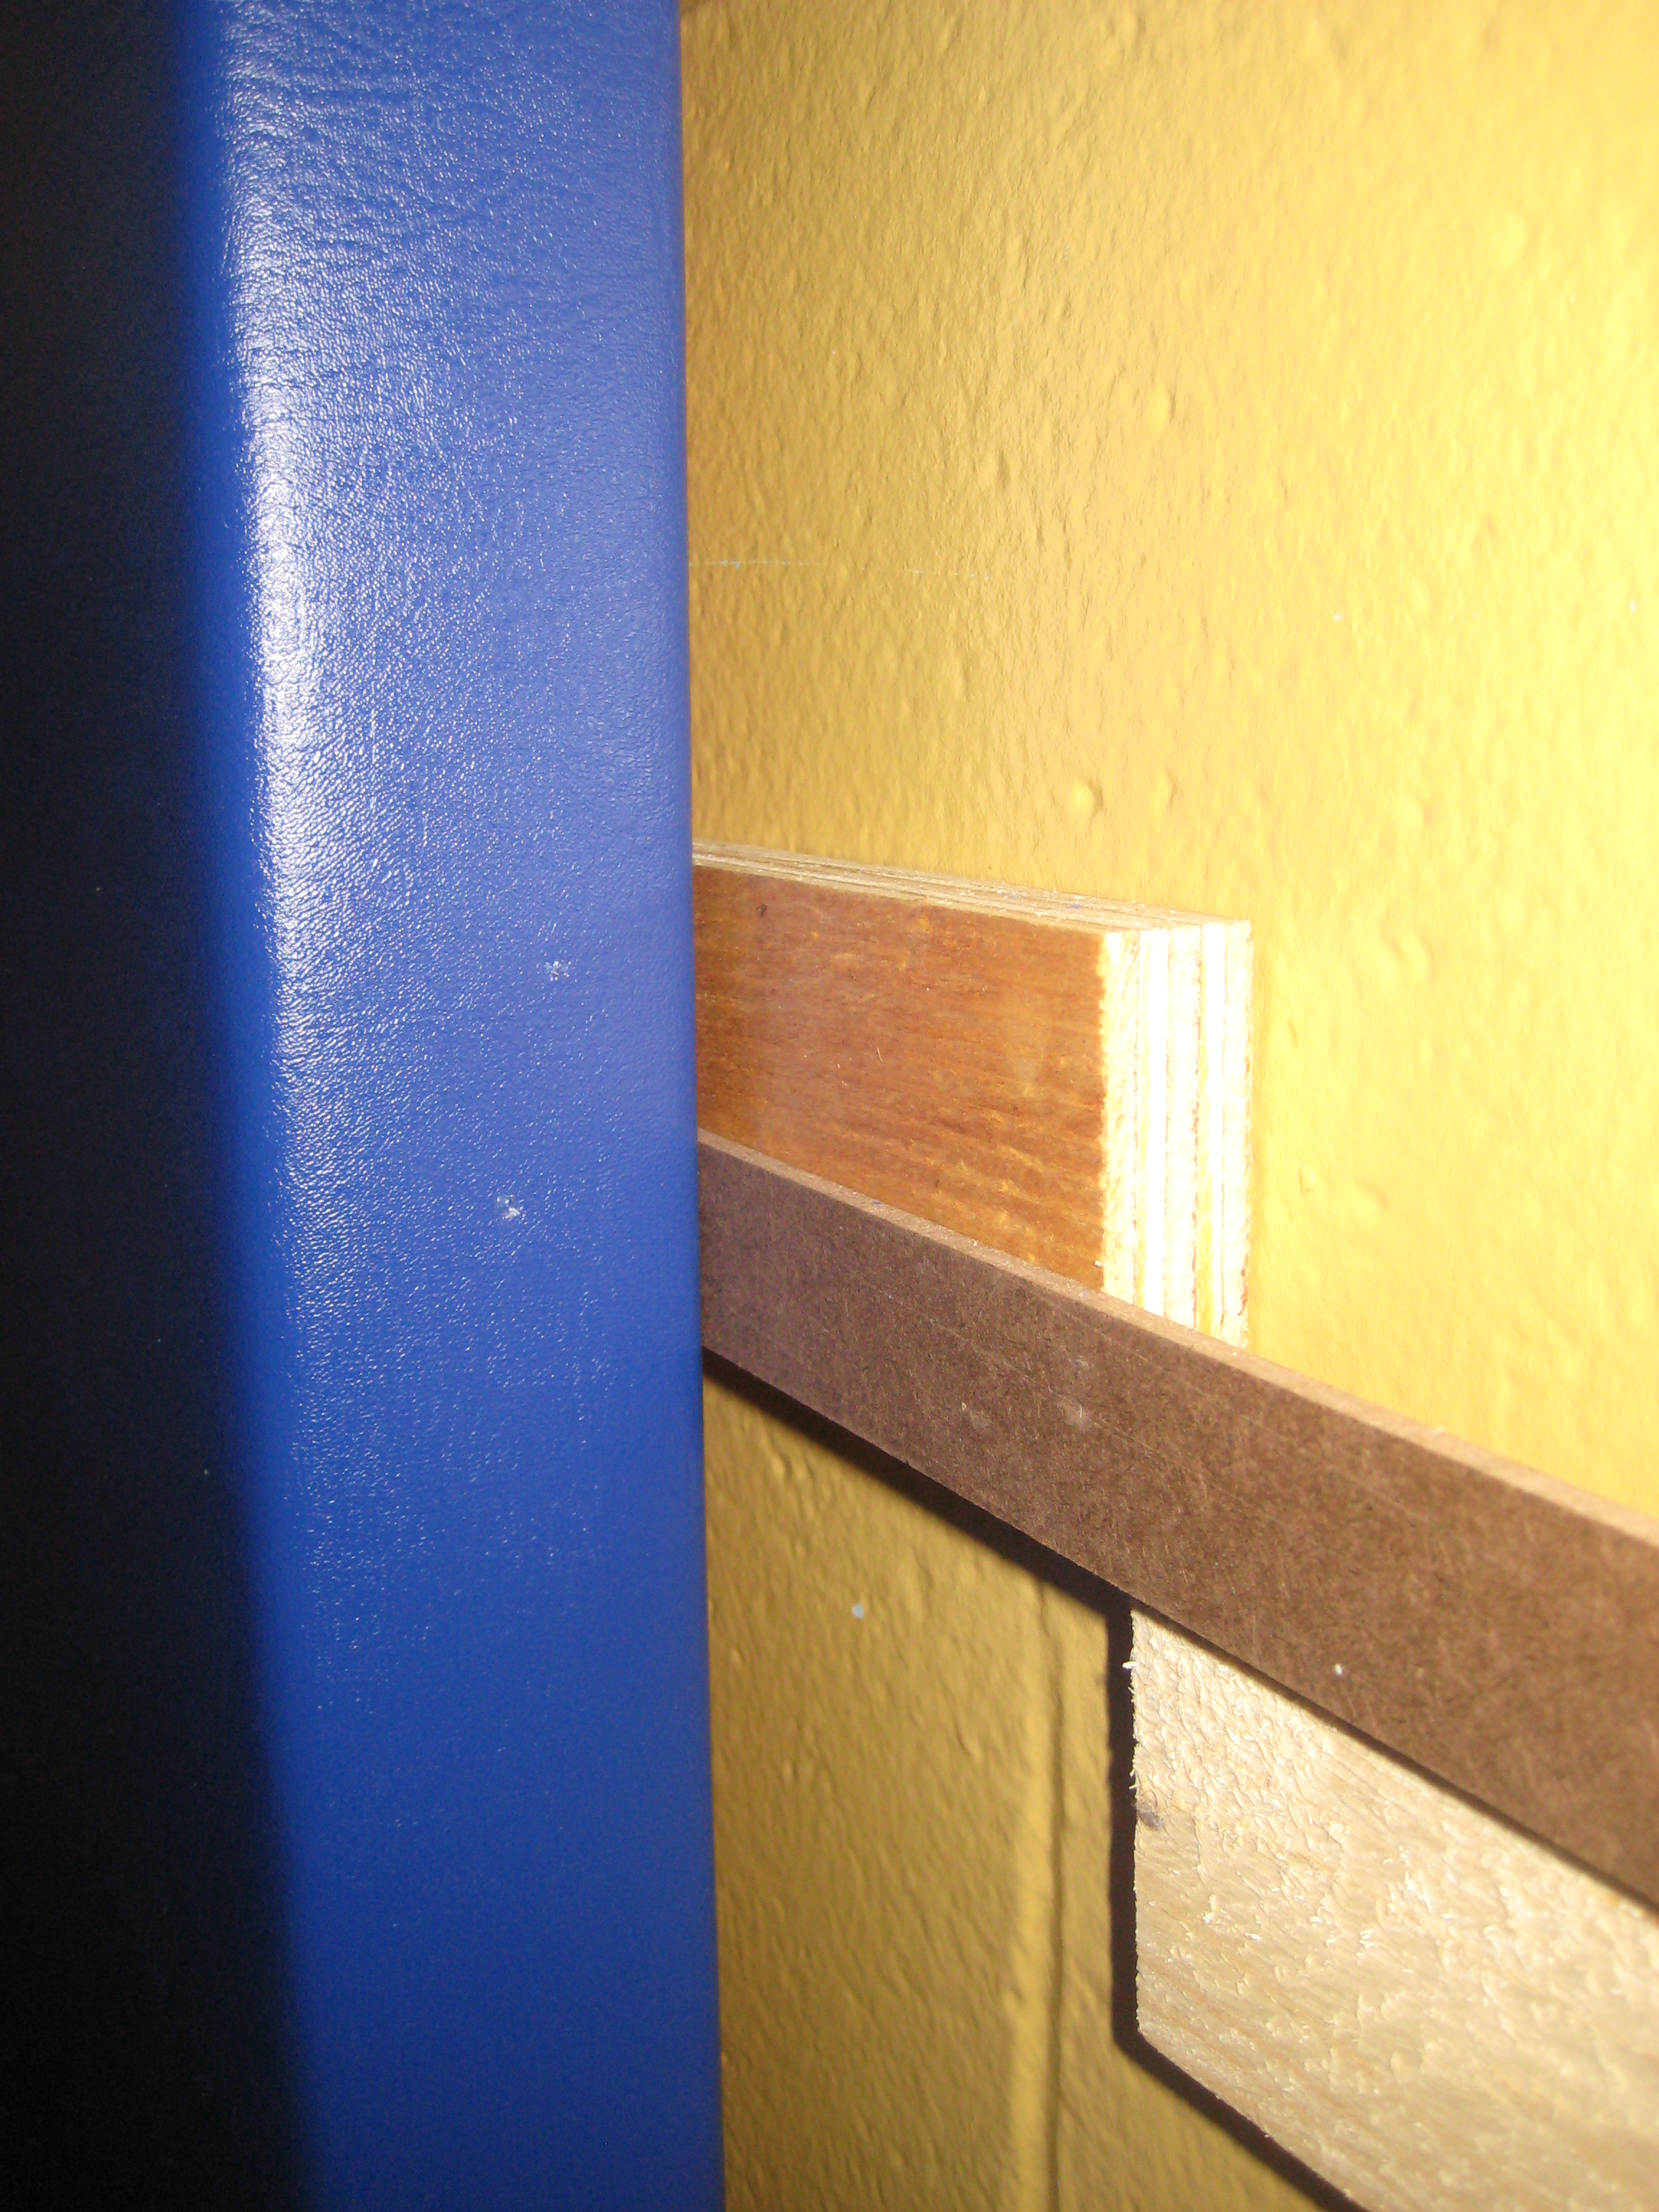
- When measuring doors you need to leave room around the edges so the door can open and close without binding
- Some chin-up bars have springs on the side that you need to pull out to adjust them up and down - allow for extra room
When ordering the wall pads you need to specify how they will be installed. There are three common methods of installation – furring strips, Z-clips and Tapcon screws.
One installer recommends furring strips for the nicest install:
- Measure up to the desired height and level the top piece of wood
- Mount 3 pieces of wood to the wall (top, middle and bottom) - a gun can be used that shoots directly into the block
- “Toenail” (insert nail at an angle) the pads directly to the wood. Also toenail the starting and ending pads, so students can't get their hands in and rip them off the wall.
- Add furring strips to cutouts as well so the cutouts cannot be pulled off
- Typically two people are needed to install with furring strips
- Attaching with furring strips prevents pads from being removed by students, etc. (when pads are attached with Z-clips they are easily removed)
Using Z-clips is another popular installation method:
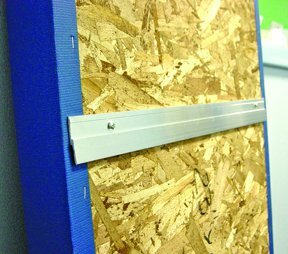
- Measure where to mount the Z-clips on the wall
- Hang pads on the Z-clips
- Typically only one person is needed to install with Z-clips
- Z-clips will not work in old schools that have conduit on the wall. The back of the pad will have to be cut and it will probably fall apart or wrinkle terribly.
When using Tapcon screws to install a wall pad:
- Just use Tapcon screws to screw directly into wall on the top and bottom lips of the pad
- Will only work on masonry walls
- Tapcon screws are more costly
Purchasing indoor wall mats is a big investment, so it is best to get the most accurate measurements and install it properly (so they will look like this!)!

CoverSports
5000 Paschall Avenue
Philadelphia, PA 19143, USA

